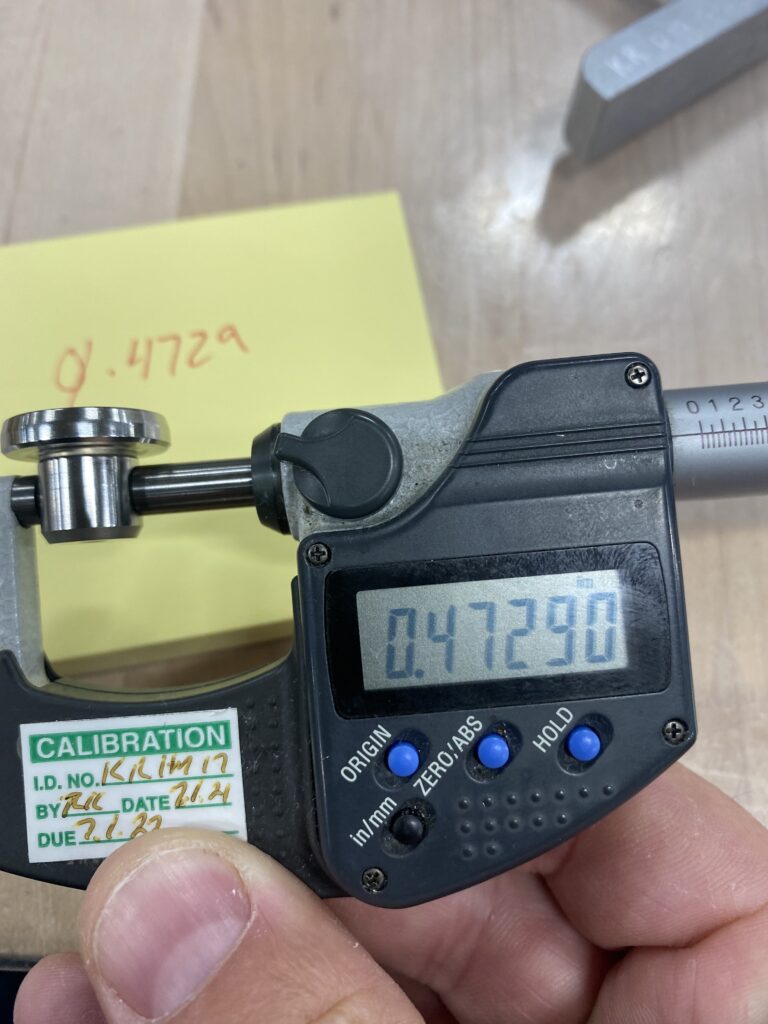
Tolerancing Mistakes Cost More Than You Think
Machining drawings do more than communicate a part’s shape—they tell a machine shop exactly how to make it. When machining tolerances are unclear, unrealistic, or missing, the result can be expensive: production delays, scrap parts, or hours spent on clarification.
Understanding how to properly define machining tolerances is essential for both engineers and buyers. In this article, we’ll break down five common mistakes that show up in engineering drawings and how you can avoid them to save time and money.
Why Machining Tolerances Matter
Machining tolerances define the allowable variation from a part’s nominal dimension. In high-performance industries, even a few thousandths of an inch can make or break a component. Too tight, and you risk driving up cost or rejecting parts unnecessarily. Too loose, and you risk functional failure.
The goal is balance—specifying what matters most while keeping manufacturability and inspection realistic. Smart tolerancing is a core part of good design for manufacturability and a critical skill for any engineer or buyer.

Mistake #1: Over-Tolerancing Everything
One of the most common issues in machining tolerances is assuming tighter is better. Engineers sometimes apply ±0.001” tolerances across an entire drawing, even to non-critical features.
While this might seem like a safe bet, it adds cost. Tight tolerances often require slower machining, more inspections, and tighter process controls. Over-tolerancing can also limit which suppliers are willing to quote the job.
The solution: identify what features truly need precision and loosen the rest. This supports better pricing and faster delivery.
Mistake #2: Leaving Machining Tolerances Off Critical Features
The opposite of over-tolerancing is missing tolerances altogether—especially on features like hole diameters, slot widths, or thread depths. When engineering drawings leave these specs open to interpretation, the shop either guesses or kicks the drawing back.
This slows the quoting and production process, and worse—it may lead to parts that don’t fit their mating components. Even when default block tolerances are listed, they often don’t apply well to every feature.
Always tolerance critical dimensions directly, and double-check that nothing essential is left open.
Mistake #3: Using Inconsistent or Mixed Standards
Another frequent mistake is mixing standards in a single set of engineering drawings—such as combining metric and imperial units, or using old and new GD&T symbols incorrectly.
Shops rely on consistency. Inconsistent formats create confusion and open the door for interpretation errors. Worst case, they result in nonconforming parts that pass inspection only to fail in the field.
Use a single standard throughout, and make sure your team is trained on modern drafting practices and symbol usage.
Mistake #4: Tolerancing to Unmachinable Values
Some machining tolerances sound good on paper—but don’t reflect what’s actually possible in a production setting. Specifying ±0.0002” on a large, non-critical surface is a classic example.
While such tolerances might be achievable with specialized equipment, they drive up cost and limit your supplier options. In most cases, standard machining processes won’t hit these values consistently.
Talk with your shop about realistic capabilities, and align tolerances with actual machining and inspection methods. This is a key part of design for manufacturability.
Mistake #5: Not Considering Inspection
If you can’t measure it, you can’t inspect it—and yet, some machining tolerances call for precision beyond what your inspection tools can handle.
For example, calling out a tolerance that requires a CMM (coordinate measuring machine) when the part will be checked with calipers leads to inaccurate results. In some cases, engineers add tight specs without confirming if quality control has the tools to verify them.
Coordinate with your supplier or internal QC team to match tolerances with your inspection capabilities. Doing this early helps ensure parts can be validated without added cost or uncertainty.
Get Better Results by Fixing Machining Tolerances Early
Improving your machining tolerances isn’t just about reducing errors—it’s about improving communication, reducing lead times, and building better parts.
Most issues with engineering drawings come down to unclear priorities. If you’re not sure what tolerance is reasonable, involve your machine shop during the design phase. That collaboration can help balance precision with practicality.
And remember, smart tolerancing is central to effective design for manufacturability. The earlier you address it, the better your results will be.
Let’s talk tolerances. If you’re unsure whether your specs are achievable, we’re here to help you get it right before production begins.
